Invoicing
With LaunchBay’s built-in invoicing feature, you can now send invoices, accept payments, and manage your pricing—without ever leaving your workflow. No more juggling external payment platforms, chasing down payment links, or managing awkward follow-ups by email.
Once you connect your Stripe account, invoicing becomes a seamless part of your client experience—enabling you to attach invoices to tasks and get paid faster, directly inside LaunchBay.
Getting Started
First, start by connecting your Stripe account by accessing your Settings in the left-hand menu and selecting "Invoicing" from the top navigation tabs. You can also set your currency preferences here.

Then, go to the "Invoicing" page.

The Invoices tab becomes your central hub for tracking all billing activity. It provides a complete history of every invoice created in your account, giving your team quick visibility into what’s been sent, paid, or is still outstanding.
The Services tab is where you can set up prebuilt line items that you frequently use—such as hourly rates, flat fees, or recurring services. These saved items make it easier to build invoices quickly, especially for recurring billing structures or packaged services. You can also create new services directly from within the invoice task composer, giving you the flexibility to work on the fly as you bill clients.
Creating an Invoice
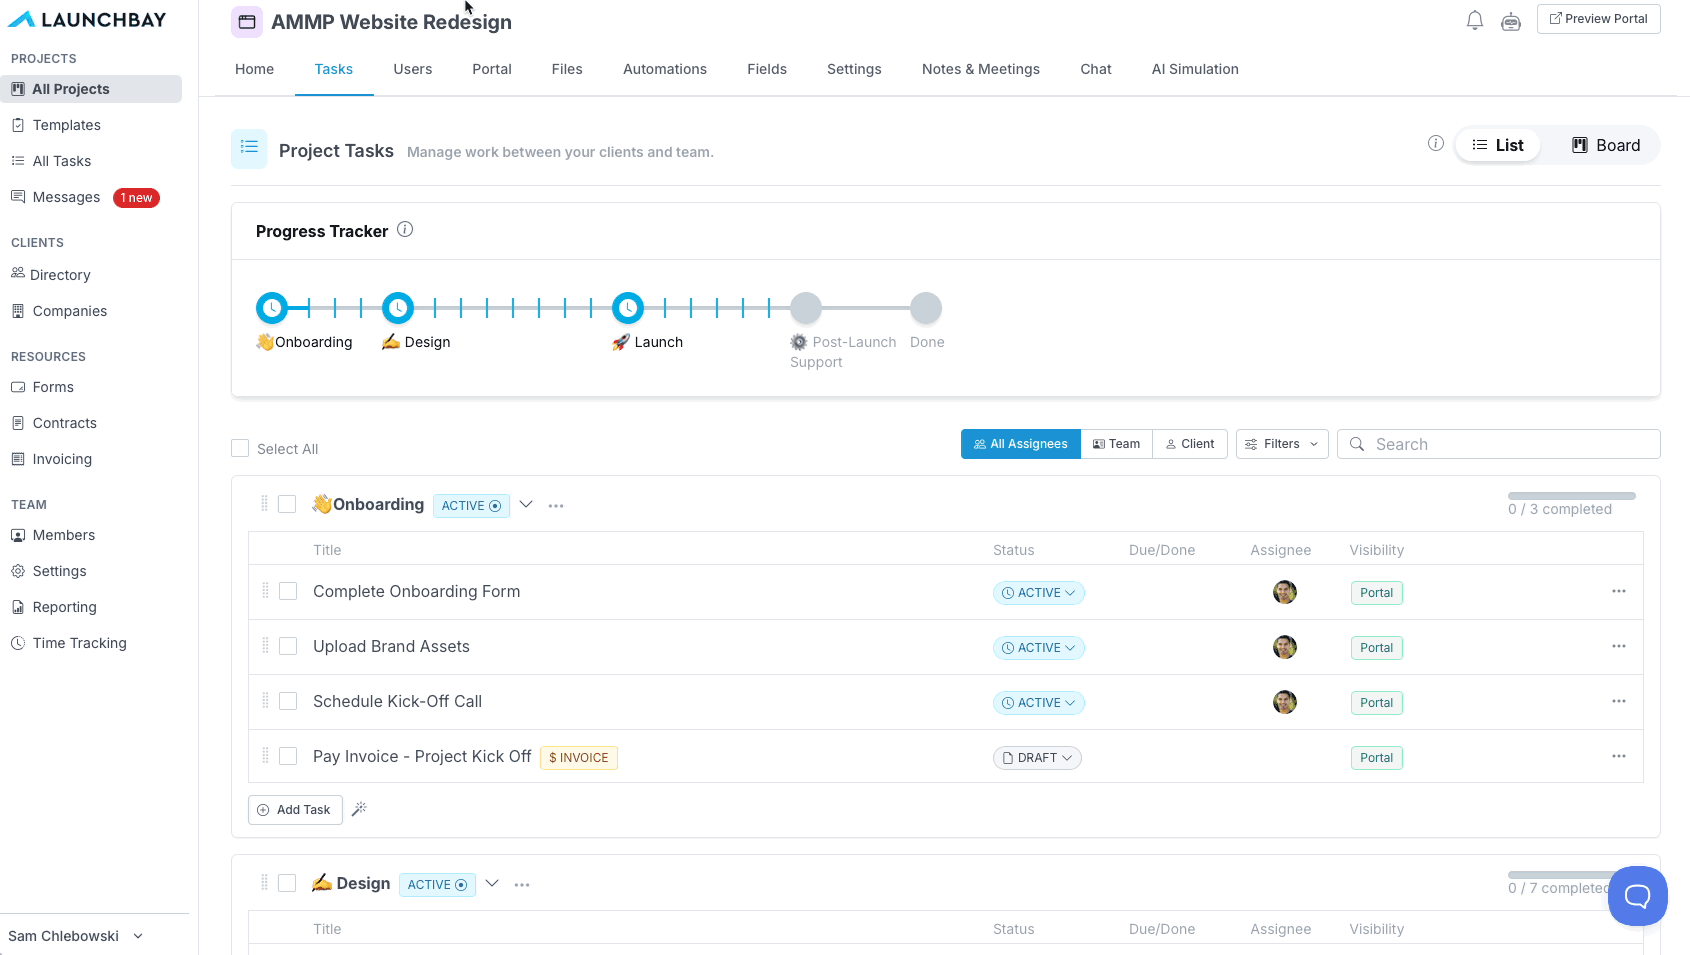
To send an invoice in LaunchBay, simply create or edit a task and set the task type to “Portal Task” to ensure it appears on the client side. Next, click the “Invoicing” task option to open the invoice modal.
From there, choose the invoice recipient, who must be a client user already added to the project. Next, you can either select a prebuilt service item from your Services list or create a new line item directly within the task. (An optional memo field is also available if you want to add extra context.) Once the invoice details are filled out and saved, the client will automatically be assigned to the task.
Before publishing, make sure to set a due date—this step is required to send the task. Finally, click “Save & Send” to assign the invoice and task to the client in one streamlined action.
📢 Note: You won’t be able to publish the task without both an assigned client and a due date.
Integrating Payment Options
If you’d like to offer clients additional payment options beyond standard credit or debit cards, you can enable alternative methods directly through your Stripe integration.
Start by navigating to the Invoicing tab within your LaunchBay Settings, then click “Open Stripe Dashboard.” This will take you to your Stripe account settings, where you’ll select Payment Methods > Default.


From there, simply toggle on any supported payment method you want to make available at invoice checkout—such as ACH transfers, Apple Pay, or other regional options. Once enabled, your chosen payment method will automatically appear in the client-facing invoice experience.

For those using QuickBooks, you can also connect and manage Stripe transactions in QuickBooks Online
Invoicing Tricks & Tips
Here are a few ways to build invoicing tasks that save even more time:
- Create a recurring task with an invoice attached: The invoice will automatically generate and activate on the recurring schedule—ideal for ongoing services or retainer work.
- Add an invoice to a template: When used in a project template, the invoice task will automatically be included in any new projects created from that template, eliminating manual setup.
- Trigger invoice tasks with automations: Use LaunchBay’s built-in automations or Zapier integration to trigger invoice tasks when specific events happen—like completing a form, reaching a project milestone, or tagging a project. This ensures invoices go out at the right time without manual input.
Why It Matters
Bringing invoicing into LaunchBay saves your team time and makes the payment experience smoother for your clients. You get paid faster, follow-ups are automated, and your clients can take care of everything in one place—no more friction, and no more missed payments.